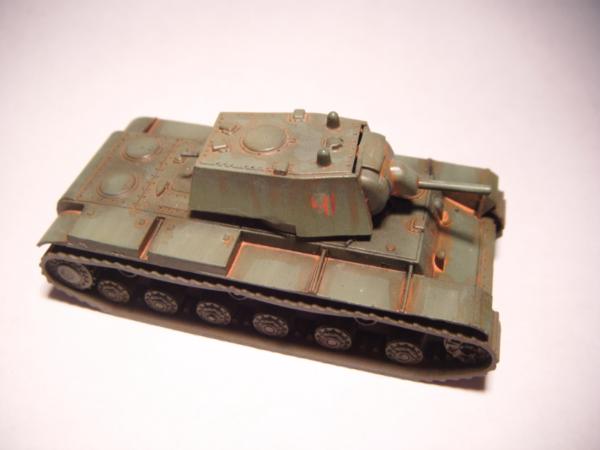
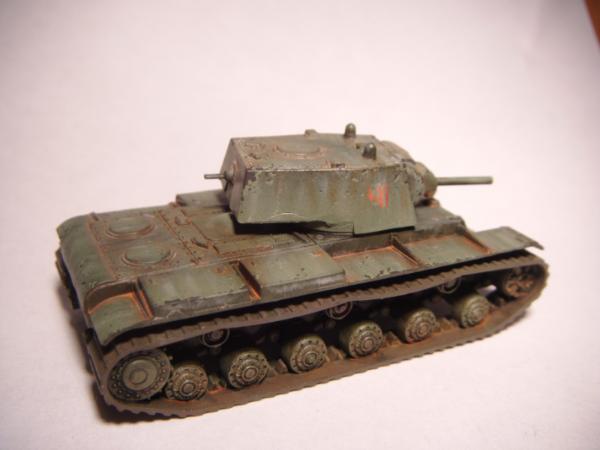
I've been asked a number of times how I did the weathering on my Russian tanks, which is very flattering. I had 10 KV1s originally, but I knew I wouldn't need that many. I only fully painted 9 of them and left this one behind so I could a give a more detailed account of how I did the weathering.
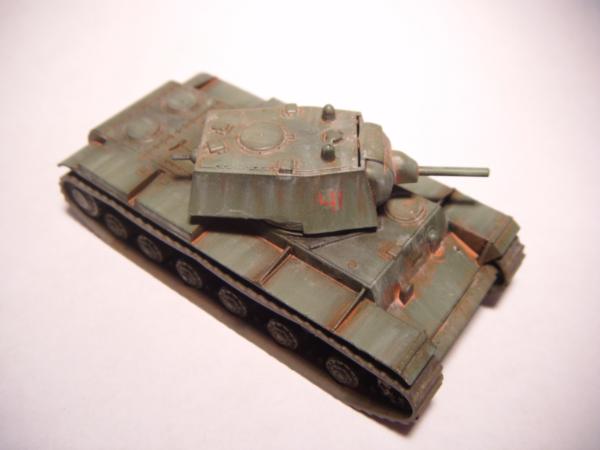
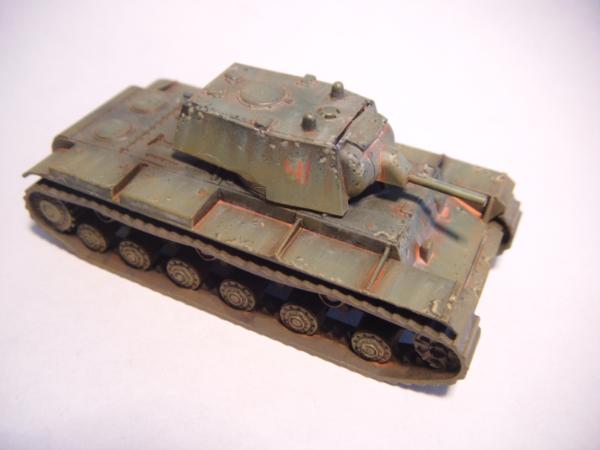
and here it is.
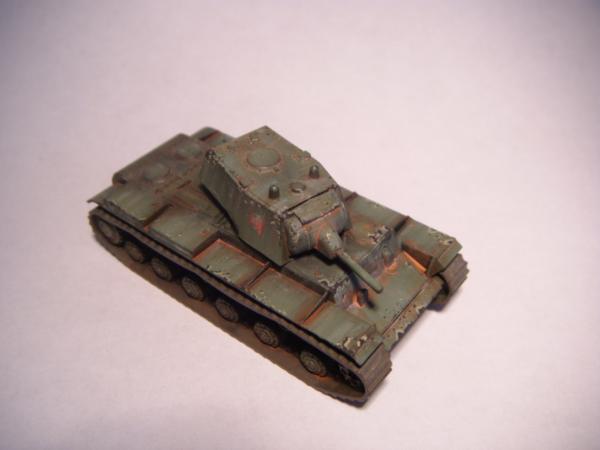
Annoyingly I got got carried away and have only just noticed that I actually did the rust already so I can't show the previous step. Anyhow, you can conclude from the tide marks of the rust, that a) I used really really thin paint and b) I wasn't too precious about applying it.
All ten tanks took no more than 10 minutes. I took vallejp panzer aces Light Rust 301, added a tonne of thinner/water and ran it into all the crevices. I then cleaned and dried off my brush and went back over it and soaked up some of the excess. At this point I ran a few streaks down the turret.
Rust done...if that's all I was going to do, i'd have been way more careful with my application, but as I'm doing a number of steps I was quite splap-dash.
Step 2 :- Rain Streaks
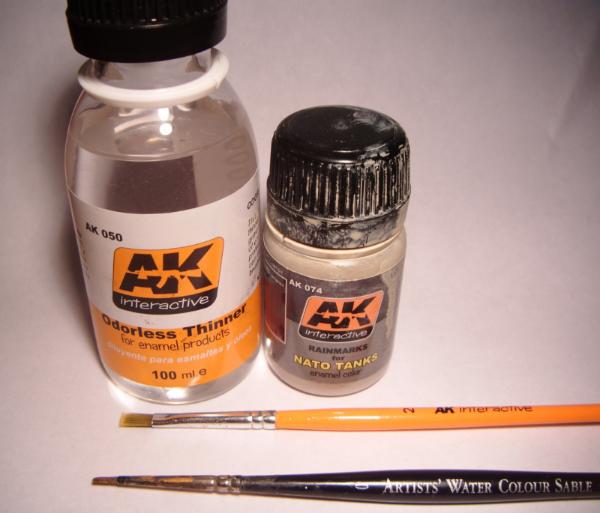
I'm going to use AK interactive's rainmarks for nato tanks, odorless thinners, a flat brush for use with the thinners and a regular brush for applying the rain marks.
Here's how...
I pipette some rainmarks to my pallette, then apply small dots all over the tank like so.
 Looks a bit weird, but don't worry. I let it dry for at least half an hour, it remains workable for ages, so take the time to clean your brush in white spirit.
This next step is quite good fun, take your flat brush, dip it in some thinners (again pipette some into your pallette). You've got to wipe some of it off onto a bit of paper, this is essential otherwise you'll remove all trace of the rain streak. You can use white spirits, but again you need to take care not to simply remove the entire rain streak. Gentle wipe, downwards/outwards in one smooth continuous action, on each spot. Work your way all around the tank.
So, first pass with the thinners, see how easy it is to drag the rain mark around. To be honest I should have let this dry a little longer, before starting the streaking process, but you get the idea. When I did the other KV1s I left the spots to dry overnight and streaked the next morning. Another pass should do it.
Second pass, i've used 2 drops of thinner in total and most of that ended up on a spare bit of paper.
The tank is already looking worn and dusty, also the exuberance of the rust is mitigated.
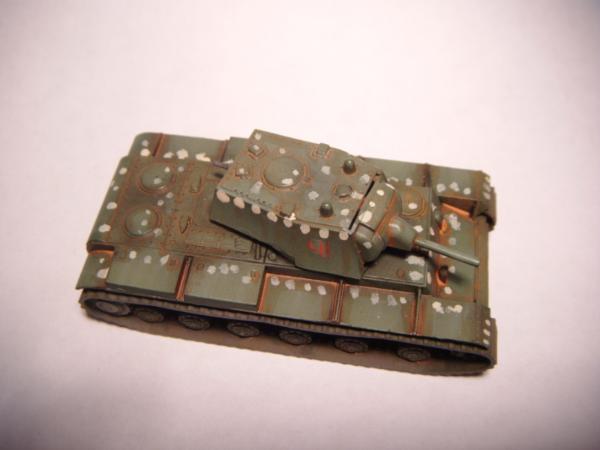
Step 3 :- Chips
This is a well documented method all over the internet, but there is nothing quite like trying it for yourself. My first attempts, I added too many chips, do yourself a favour and keep it minimal, this is a VERY time consuming step otherwise. I roughly mix 50:50 Vallejo Panzer Aces Dark Rust 302 : VMC Black Grey 862
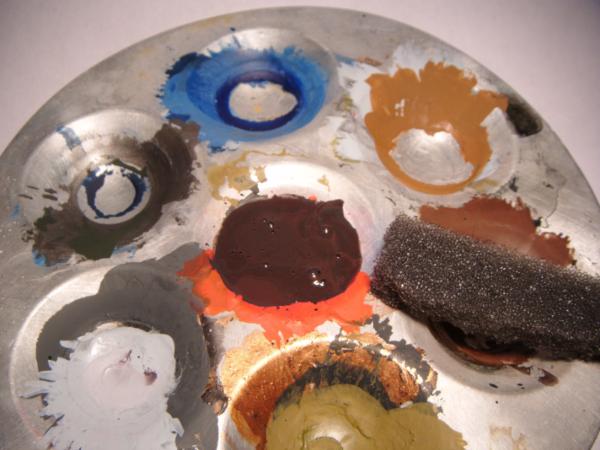
Tear off a strip of foam, and tear the end so it's not flat. Dip that sponge in and dab off the excess on your spare bit-o-paper.
Here you can see 5 dabs, so you get an idea of how much paint is left on the sponge
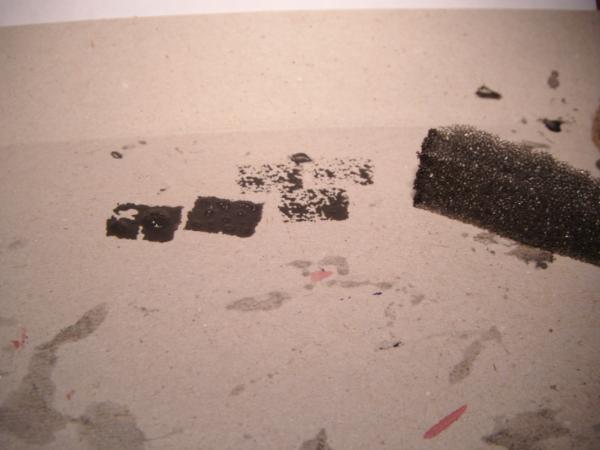
Now dab the tank, focus on edges and especially corners. Resist the temptation to drag or stroke with the sponge, dab and nothing else!
What an awesome step, and I didn't even try that hard to achieve it. Unfortunately this next bit is a pig, but well worth it. Take some VMC Iraqui Sand 819, mix with some VMC Russian Green 894 (The original tank colour) and edge those chips. You just want to hit one edge of each chip.
Okay, I messed this up a bit. I added too much Russian Green. You want mostly Iraqui Sand (or some light sandy colour) and a hint of Green. I've used too much and it doesn't provide enough contrast. Ah well, hopefully you can see what I meant.
Here we go, I went back over the lines with pure Iraqui sand, that pops much better.
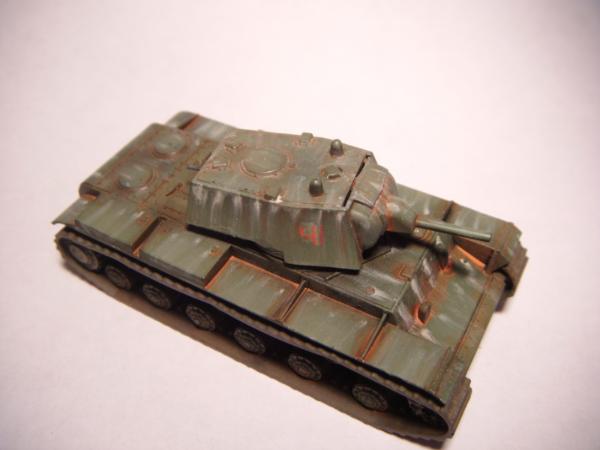
Step 4:- Dust and dirt
Okay last and the very best step.
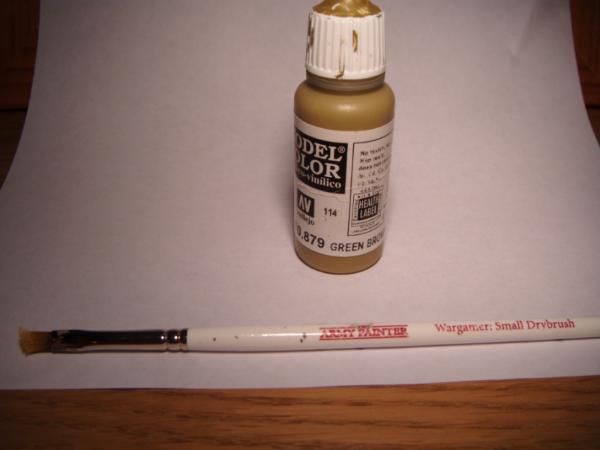
This colour is amazing, if you don't have it, buy it, heck buy 2...yes it's VMC Green Brown, oh and I recommend Army Painter's small drybrush...it's really good.
Pour out a generous helping of Green Brown and get your brush quite deep into it. Now get most of that paint off. Get the excess off on the side of your pallette for reuse and then...there's nothing quite like the back of your hand...sorry bit-o-paper, your time is up.
Back-o-hand (The very latest in painting accessory, get one today)

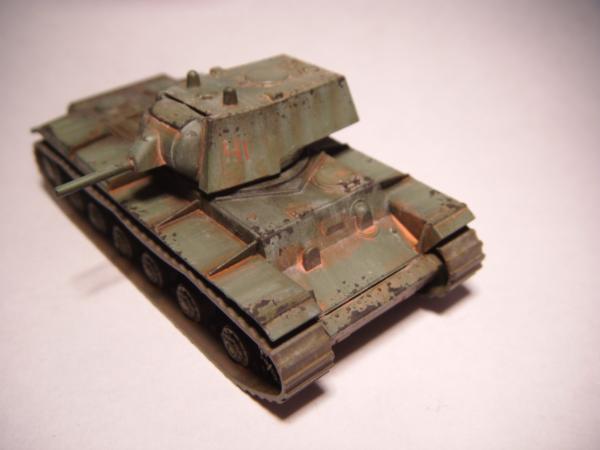
Work quickly, but gently, go around the tank over the wheels and tracks. Then brush strokes go from inside to outside all the way around the top of the tank. Finally brush stroke from the centre of the turret sides downwards, and there you have it.
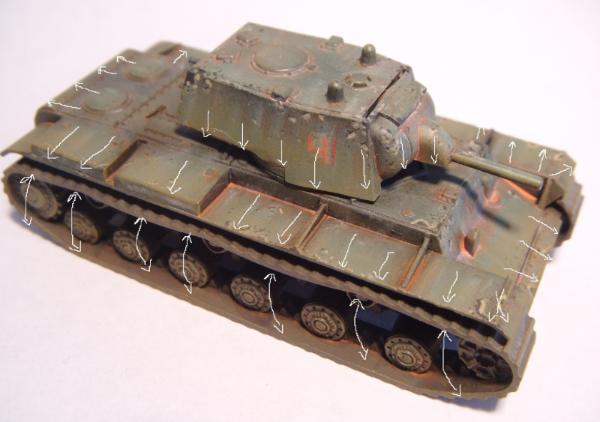
Finito
Final thoughts...
These tanks are one colour and for that reason I went heavy with the weathering. If I'd gone with a camo scheme, I would have used less weathering as there's already plenty going on. Each step on it's own isn't going to do it, I think the combo of the steps, their gestalt, is quite powerful, super easy to do and not very time consuming (sponge depending).
As always I hope this is helpful for someone, please leave a comment, and let me know if you've got some awesome weathering tips to share.
Winner
Great tutorial. Thanks for posting this.
ReplyDeleteI remember your posts on colour modulation. Did you not do any modulation on this KV-1? If you were going to do colour modulation with Russian Green what other colours would you use? Thanks!
That's brilliant, thanks for sharing your method.
ReplyDeleteHey Cameron...wish I'd made my light box before taking these photos, but that's a different story right :)
ReplyDeleteI did do modulation on these bad boys, but I didn't do it to the same extent as the T70s. In all honesty, I'm tempted to sell these and do them again and next time take the modulation further.
I think on these fellas I just added white, but like I say I didn't modulate to a very high degree. Next time, i'd be tempted to try adding Buff (Great colour for highlighting.)
Anyway, what you doing asking me for tips...your modulation is stunning :)
@Red Dog, thanks buddy. TBH, they're just a bunch of methods I stole off other people. Mostly the legendary Ruben Torregrosa aka HeresyBrush
Excellent tutorial and excellent results! Thanks :)
ReplyDeleteI have a pot of VMC Green Brown too (which i bought to paint some French infantry about a year ago and have never used since!)
Dave.
Very good stuff mate, well done.
ReplyDelete