Winner Dave here, talking about how I went about painting the all new Hohei Chutai. I have an amazing ability to paint something, decide I don't like it and repaint it. The Hohei Chutai is no different. I got my hands on a new magazine called Painting War, which features my all time favourite painter Ruben Torregrosa, the guy is a legend and I've learned so much from him. However my lesson this time round is that I have a style and it's not the same as Rubens. I tried to copy Ruben's style but I didn't work out so I went back to my own style. Here's how that went...
(Edit-quick pic of the finished product)
After the ever arduous task of cleaning the flash and straightening the bent bits, I primed and then undercoated with Tamiya XF9 Brown. After this I basecoated with Khaki Grey VMC 880, I used an Airbrush to speed the process.
Next I tackled the boots (Flat Brown VMC 984), then any wood parts like the rifle stocks and handles I used Beige Brown (875) and the bag Green Yellow (881). So far these are the recommended colours you'll find in Rising Sun.
I now deviate from the recommended colours and paint any flesh areas Cork Brown (843)
So far this has been a long arduous task, not much fun...now the fun can begin. I find a black ink wash to be optimal. I've not tried using enamels on infantry before, I usually use thinned vallejo black wash, but I'm going to give the enamels and try...lets see how that goes.
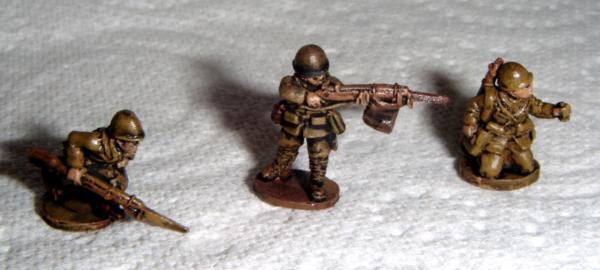
The results are encouraging...not too dissimilar to an acrylic wash, but I think it has run into the crevices better. Throughout the process I kept getting different consistencies of wash (I was using odourless thinners), and at times I thought "that's too thick." Seeing how they've turned out I'm preferring a thick wash (model in middle), to a thin wash (model on right)
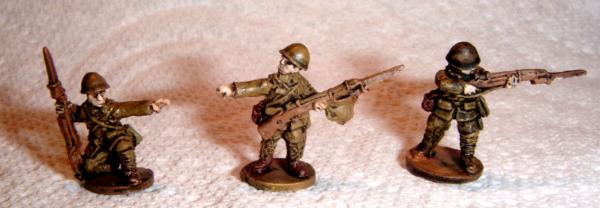
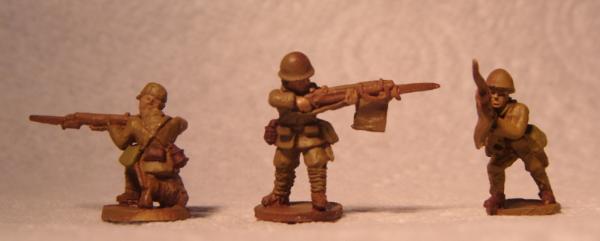
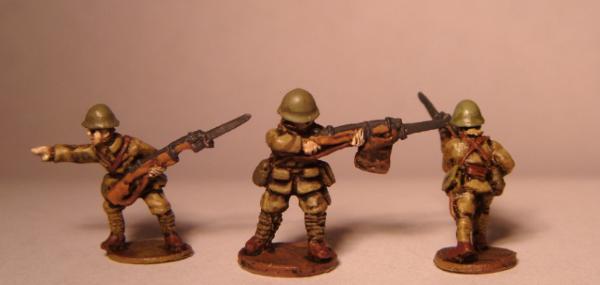
A final highlight of pure Basic Skintone, brings the skin to a close. Here I just tried to hit the fingers, nose and cheekbones. On an open face like the officers below, I try to hit the chin as well. I've chosen a selection of outcomes here...the officer, I'm happy with. The middle guy is a bit meh, the shooting guy is about average. That's up close, with a camera on macro, with naked eye there's little difference. From a foot away, the shooting guy looks the best as there is high contrast, even between the fingers.
It's tempting to hit the skin with a brown wash to increase the shading...if so I'll leave it towards the end as I've got a uniform to paint. Khaki brown is a tricky colour. It has a fair amount of green in it and I'm not convinced highlighting with Khaki is the way forward. I think i'll try a mix of 2:1 Khaki Brown:Buff (yes I finally found a bottle of buff)

So, that's taken most of the day, but it's the longest step. I'd like to stick another stage of highlights in here, but there's just so many of the critters that I'm not going to and call that done for the uniform.

Quick note on colour, the block on the left is 2:1 Khaki Grey:Buff, the block on the right is Khaki and the line underneath in Khaki Grey. I think it was a good choice to go with the mix as a highlight colour and next time i'll perform the below test before I commence painting :)

Quite a big jump here, I painted the helmets Brown Violet, and as before I added a dollop of Buff to make a highlight colour and added extra thinner to make a thin paint.
The boots got a freshen up of flat brown and I painted the straps with the same colour. Bread bags got highlighted with Yellow Green and Buff (no surprises). I painted all metal regions with Black Grey (A very very useful colour to own) and after that I touched up the wooden areas with 50:50 Beige Brown:Orange Brown. I think this makes a really nice wood colour that stands out just enough from all the other myriad of browns going on. Not much left to do now, just highlight the metal areas, add some details like collars and cap stars...nearly there.
So much for not much to go...noticed that I forgot a load of ammo pouches. Whilst doing the pouches I took the time to do the brown strap on the soft hats and finished them of with a dab of Heavy Ochre.
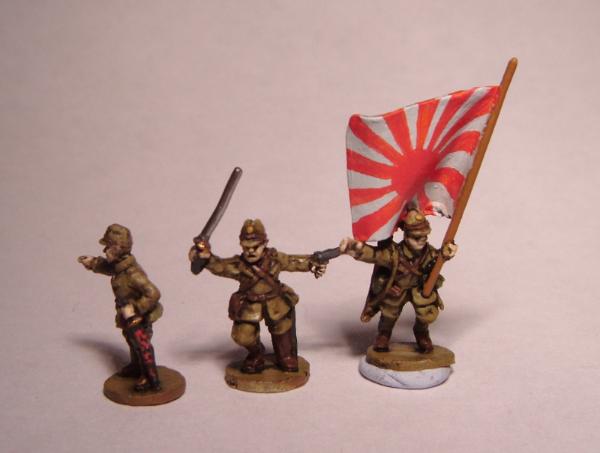
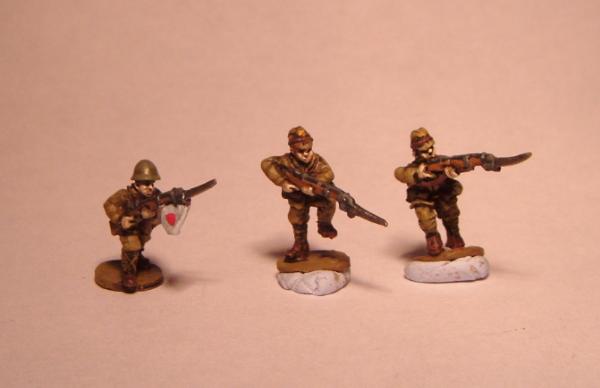
Anyway, here we have a series of complete guys, the flags were painted with Ghost Grey, and the Red Suns were done by dabbing the paint on as opposed to trying to paint a circle.
Finally I painted the bases with Green Brown.

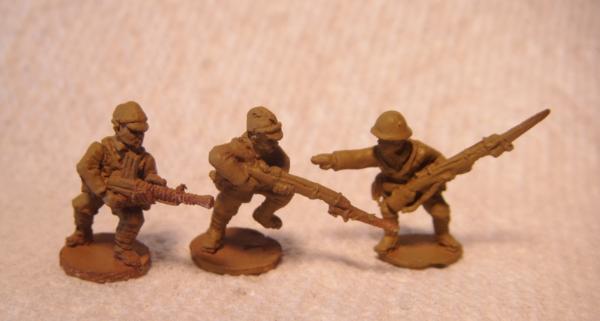
Love the poses on these guys and yes it was annoying that they wouldn't stand up without blu-tack
Oh yeah, forgot to set the white balance on the camera...I remember just in time for the last shot.
I hope you like what you see, and my record of what I did is helpful to someone. Next i'll be basing them properly but not before I do a detailed run down on how I did the weathering on my KV1s
Cheerio
Winner
I think they turned out well. Might try something similar for my Russians.
ReplyDeleteFMB
A+ job......
ReplyDeleteAlso did you paint the flag in the last pic?
I did yes, and then found out about the number stripes/rays...it's back on my painting list to fix it, but it'll have to do for now.
DeleteWell it looks great now too!
ReplyDelete