Winner Dave's journey in painting Plastics Soldier Company's T-70...like this
Hello All
After doing my review of the PSC T-70, I thought I'd do a step by step guide of my 10 day journey on how I painted them.

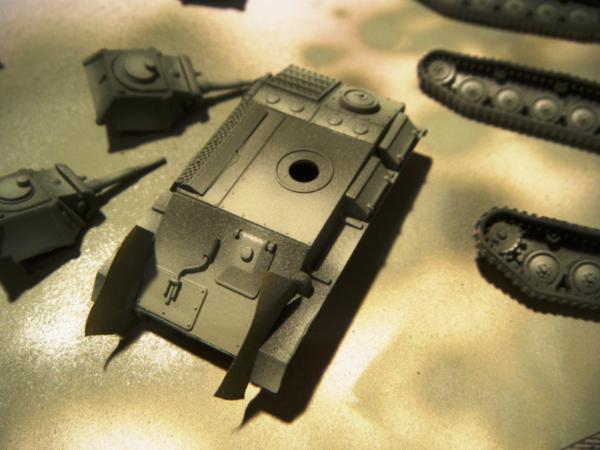
Day - 1 - Prime and Shade
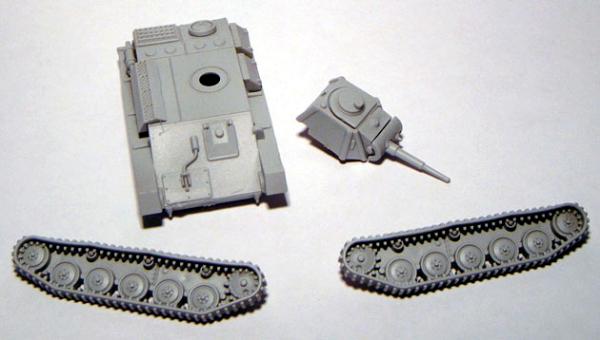
In the photo above I've gone ahead and primed with Vallejo surface primer grey.
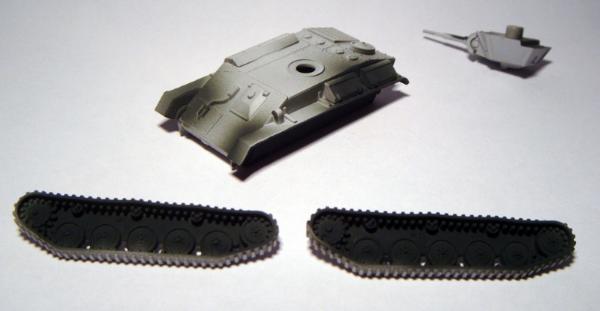
My next step was to use Tamiya's Black Green XF-61, and went for the shadows.
I then cut some small pieces of masking tape to cover the shadows on the front.
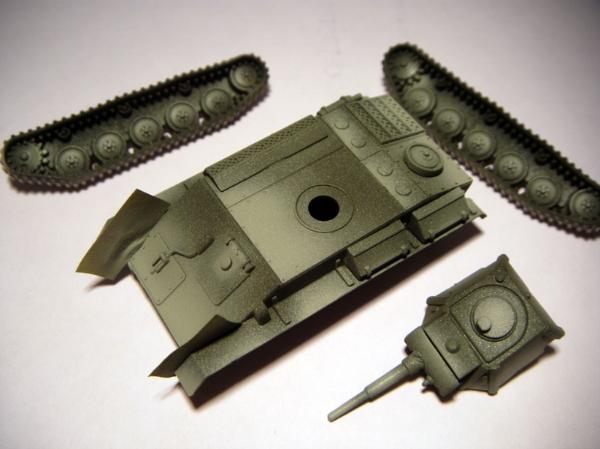
Day - 2 - Base coat
Now it's time for the base coat. i tried to avoid the shadows, but without being precious about it.
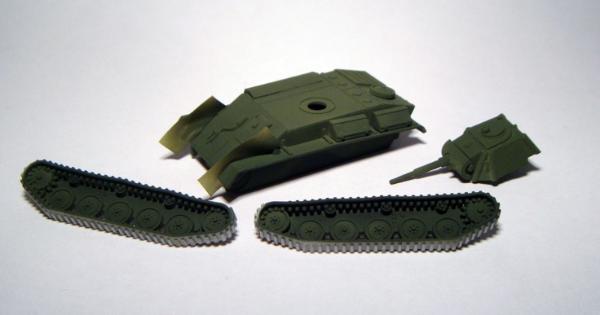
This time I used Tamiya's Nato Green XF-67, you can see in the photo where I applied the masking tape, that's because I want to see a really strong contrast just there. The base coat is a bit patchy in places, but I'm not fussed about that. So far so good. The next step is where the fun begins, but I'm off for my monthly butt whooping by Robin, so that's all for today.
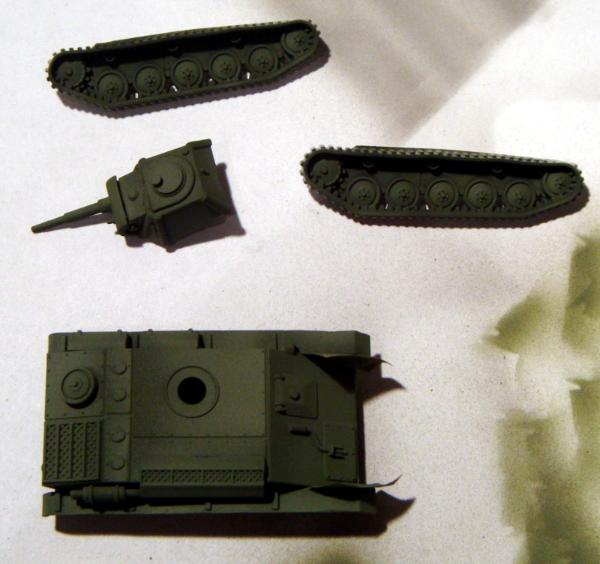
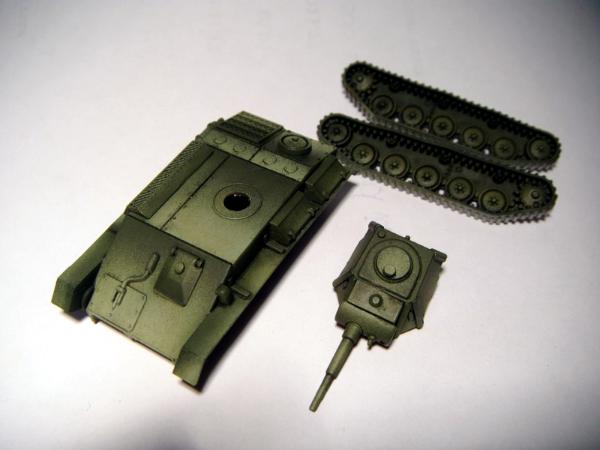
Day - 4 - Highlights
Butt whooping over, actually it was only a 4-3 loss and one of the best games of FOW I've ever had.
Anyway, we're painting...
Next I applied a layer of mixed nato green and white (2:1).
That went down really well and I was happy with the result below.
Hopefully you can make out the highlights. I used masking tape to section bits off. To do all 10 tanks took about an hour, but I was really please with the result.
Then...disaster.
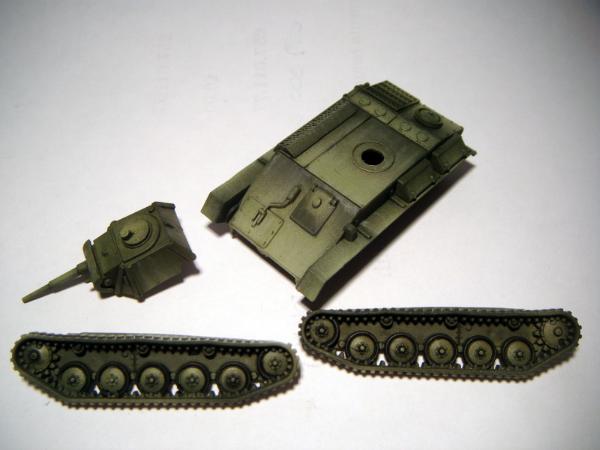
I added some more white to the about mix, so I'm at about (1:2) Green to white. And for some reason the airbrush just kept producing this spatter pattern. It looks like snow for goodness sake.
I am very annoyed with myself for continuing to paint and also unhappy with the result. I only hope I can rescue it. :(
I wanted to get another layer of highlights done, but it's late, I'm tired and want to throw my airbrush under a truck.
Day - 5 - Prayers and rescue...
The third and final highlight went down okay, but I was only try to kiss the front and rear edges, top hatch on turret and barrel.
Little bit of spattering, but not too bad.
Time to reapply the original Nato Green colour. Fingers crossed.
And here we have my rescued version

It's far from perfect and I'm not over the moon about the finished result but it's a lot better than it was. I hope the new AK Interactive filters I've bought can smooth it out.
Day - 6 - Filters and Washes
This is my first go at using AK-Interactives filters and washes, I bought the Nato weathering set.Here you can see I've applied 3 layers of brown for green filter and the black wash.
Day - 7 - Rain Streaks
Today I applied Ak - Interactive's Rainmarks - AK-074.
Again this is a new bit of kit for me, so I wasn't sure how long you leave it on for before wiping off. I think the tank looks rain streaked, so I must have done it quite well. I'm pleased to see, that with further applications of effects the speckles are diminishing and the tank is looking more and more realistic.
Day - 8 - Rust and tracks
Today I added some rust colouration, by massively thinning down Vallejo Panzer Aces Light Rust. When I thin acrylics I use a mix of water, Klear floor polish and retarder medium.
In retrospect I should have painted the tracks by now, as I'm in the position that I need to apply some of the weathering techniques.
Oh, well it's a learning experience.
Day - 9 Chips
For this next step I mixed 50:50 Black Grey and Dark Rust. Then I used a ripped bit of sponge to make paint chips. After that I underlined the chips with iraqi sand.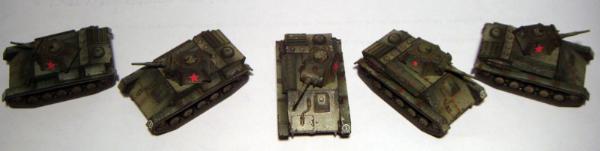
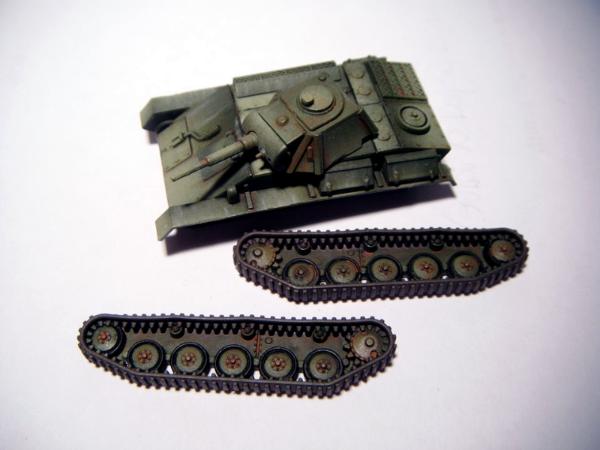
Here's a blurry photo of 5 of them. Annoyingly you only get 16 large stars with the PSC decal pack. So you can do 8 tanks...really??? You also get 16 small stars so now 2 tanks have small stars on them...went on to add a unit insignia.
Some of the tanks I applied too many chips and they look silly. Likewise on some of them the underlining is too much...again I'm learning as I go.
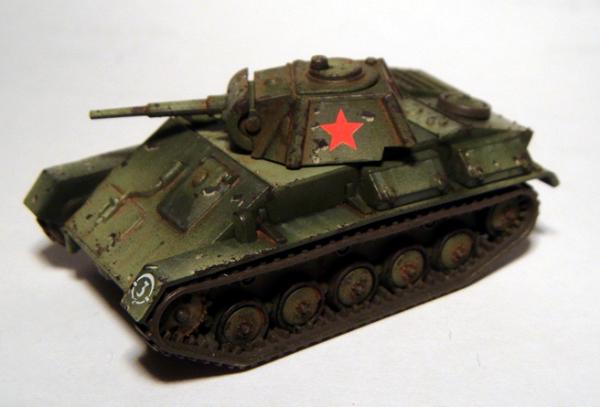
See, I like this tank...
But, I don't like this tank...
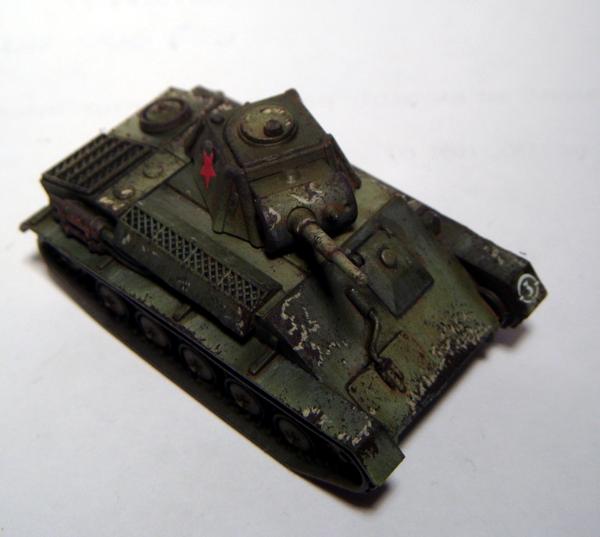
the difference, in terms of what I did is minimal and yet my opinion of them is very different...why do we do this to ourselves ?
Nearly there!
Day - 10 - Dust
Good mornning...I got up early to finish these off. I used Green Brown to add driedm mud / dust to the font/back and tracks. I also gave the barrel tip and light dry brush of black grey. Finally I gave the vents a light dry-brush of grey.
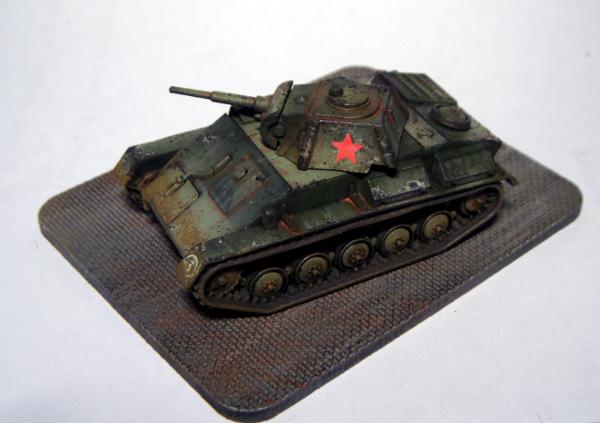
And finished...it's been an interesting journey...there were times I wanted to re-spray the whole lot, but I think sometimes you just have to persevere.
Well, I'm late for work, so here's a final pics and I'm off
Thanks for reading
Winner Dave
i honestly wish i could paint like that
ReplyDeleteEnd result: excellent. Great tutorial!
ReplyDeleteCdlT
practice, patience and plenty of time trying!
ReplyDeleteGreat Job!
Yes, and that and I think I should do trial runs before committing to all ten tanks :)
DeleteGreat job. I'm really impressed with these. I also like airbrushing highlights and shadows. What I tend to do is to basecoat the model in the mid tone (in this case Nato Green) and then airbrush the shadows and then highlight. Thanks for the great tutorial. These models look great. I love how the grating looks and the pooling of the rust.
ReplyDeleteI'm going to add your blog to my blogroll at http://rustandthecity.blogspot.ca/.
Great blog you have there Cameron, thanks for posting the link.
DeleteJust been having a peruse whilst eating my tea :)
Really good tutorials, keep up the good work, I'm now following your blog now.
Nice tute! Love the finished result!
ReplyDeleteNice stuff Dave, really really nice
ReplyDeleteLovely stuff Dave :-) just one question (for now) ;)
ReplyDeleteAfter the highlighting stage, do the then spray the whole model again the baseoat colour? Or is it straight onto the filters?
Cheers,
Manny
Sorry it took me a while to pick up your comment.
DeleteThanks for the compliment, I went straight into the filters from the highlights. They're impressive aren't they...as it was my first time using them, I thinned them right down and applied several thin layers carefully stroking them on.
I recently finished my matildas which look like the T-70 above, but better. This time though I thinned the filter less and whacked it on...I was not gentle I just chucked it on. Left it for an hour and stroked brush with pure white spirit over...better result imho.
Have you taken the plunge into the AK interactive range?
Dave
Did you airbrush the filter or brush it on?
Delete