With the new Market Garden Books out me and Winner Dave decided to have a game using the new books. I dug out my 15th/19th Hussars and Dave was using his Fallschirmjagers.
We were playing 1675pts as thats all I had. We rolled up Breakthrough as the mission, so I would be the attacker.
Please Note:- Dave would like to apologize for the terrain, he is in the middle of making more of it and a few bits weren't finished. For Example the bits that look like walls are in fact hedge rows. Also half way through the game my camera's batteries died so the second half of the games pictures were taken with Dave photo, these pictures came out a little darker. Also most of the turn 3 pictures didn't come out very well as I lost some important pictures, sorry about that. I'm still learning how to write AAR's, hopefully the next one will be a lot better! |
15th/19th Royal Hussars
- 2 HQ Cromwells
- 3 Cromwells + Challenger
- 3 Cromwells + Challenger
- 3 Cromwells + Challenger
- 3 Universal Carriers
- US Para Platoon
- 4 Heavy Mortars
|
Fallschirmjager
- Von der Heydte + 4 Trap Teams
- HQ with 2 Panzerfausts and 3 Mortars
- Fallschirmjager Platoon with Panzerfaust
- Fallschirmjager Platoon with Panzerfaust
- 4 Pak 40's
- 3 StuHs
- 4 Heavy Mortars
|
Deployment
Dave choose his table quarters and deployed both his infantry platoons to ran towards the objectives on the first turn. I deployed quite aggressively to try and rush Dave, I put the US Paras as my flanking force. The idea of trying to dig out FJ's with trained troops didn't seem like a good idea to me, so I planned on trying to win by breaking Dave's company.
 |
| Deployment |
 |
| My left side flanking force |
 |
| My Right side flanking force |
 |
| Winner Dave's StuH's lay in wait |
 |
| Dave's Pak Front |
Turn 1
I advanced towards Dave, my right flank hide behind some terrain, my left flank moved as far forward as possible to try and take out the Pak40's. Dave moved his infantry towards the objectives but otherwise stayed put.
 |
| Turn 1 - My Right flank advances to hide from Winner's Pak 40's. |
 |
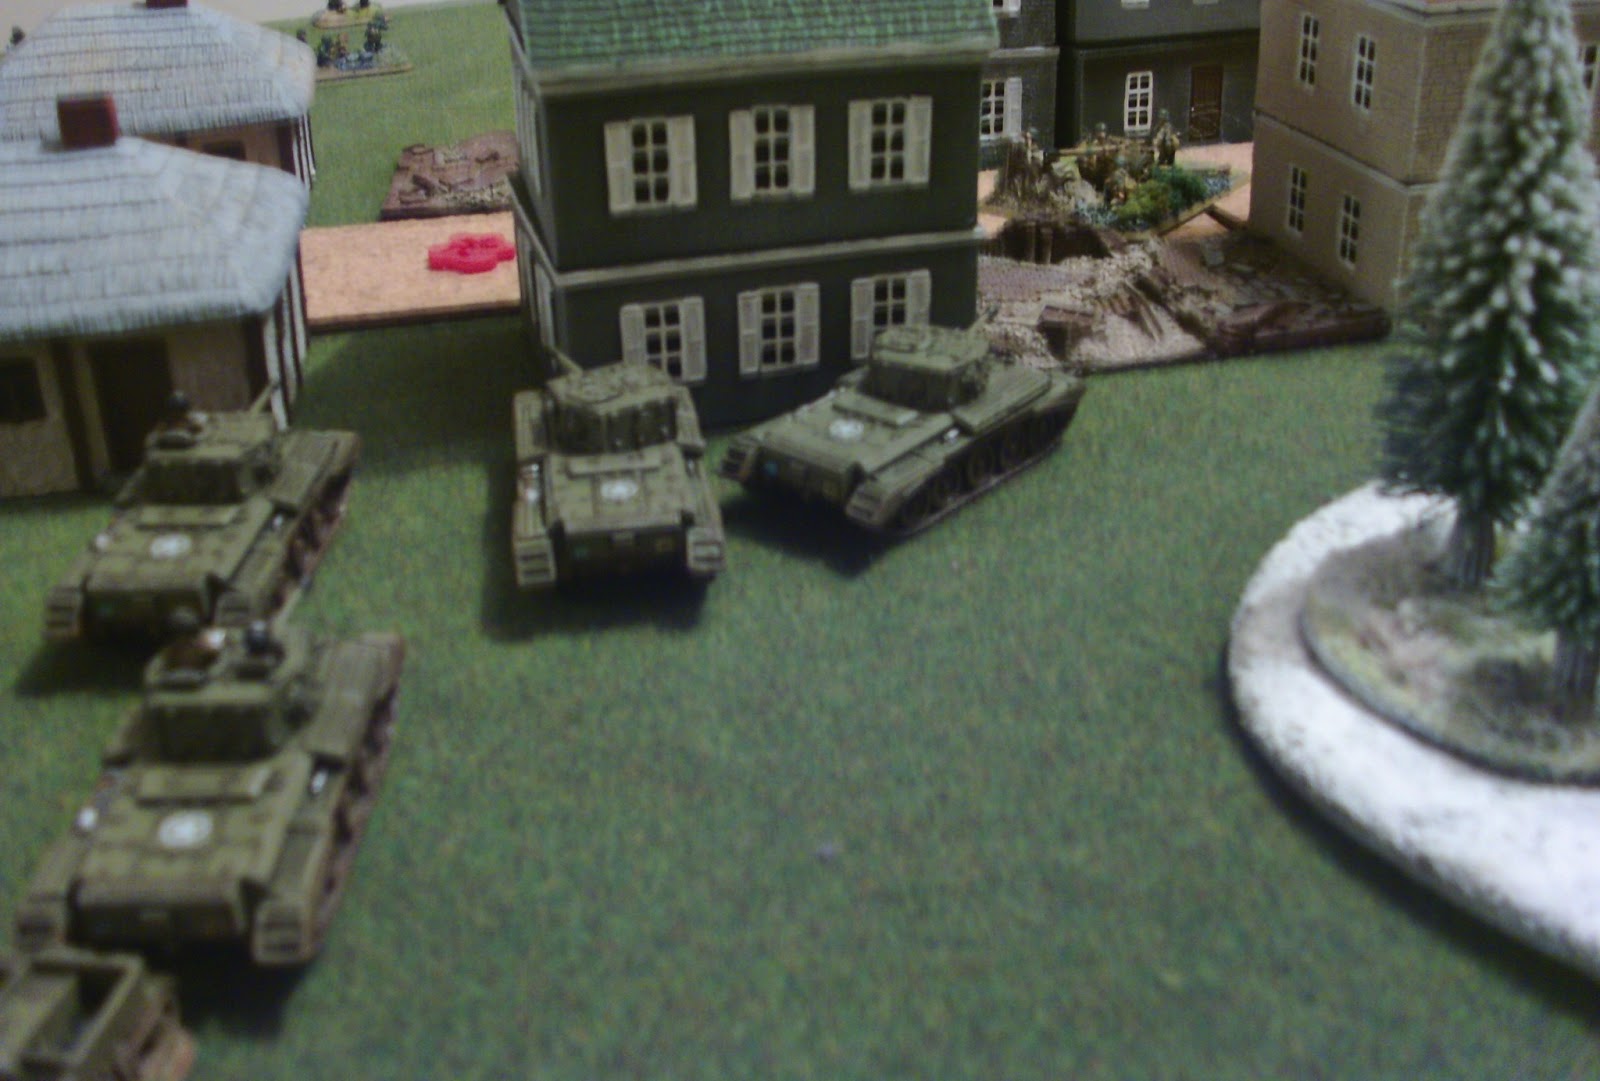
| Turn 1 - The rest of the Comwells rush forward |
 |
| Turn 1 - I smoked Winner's Pak 40's |
 |
| Turn 1 - The FJ Heavy Mortars fire at the right hand Cromwell platoon but fail to do any damage. |
 |
| Turn 1 - Dave tries to bombard the Carriers with his Light Mortars, but again fails to do any damage. |
 |
Turn 1 - The Pak40's poke their heads out of the smoke and take a few shots at the Cromwells destroying one and
bailing another. |
 |
| Turn 1 - The other Pak40's take out a Carrier. |
Turn 2
I move up to attack Dave's flanks. Dave's FJ's move up and take the objectives.
 |
| Turn 2 - The right hand Pak 40's get smoked |
 |
| Turn 2 - One of my Cromwell platoons breaks off to attack the light mortars, killing one team. |
 |
| Turn 2 - The other left flank platoon tries to get into cover and take out the left side Pak 40's again taking out one. |
 |
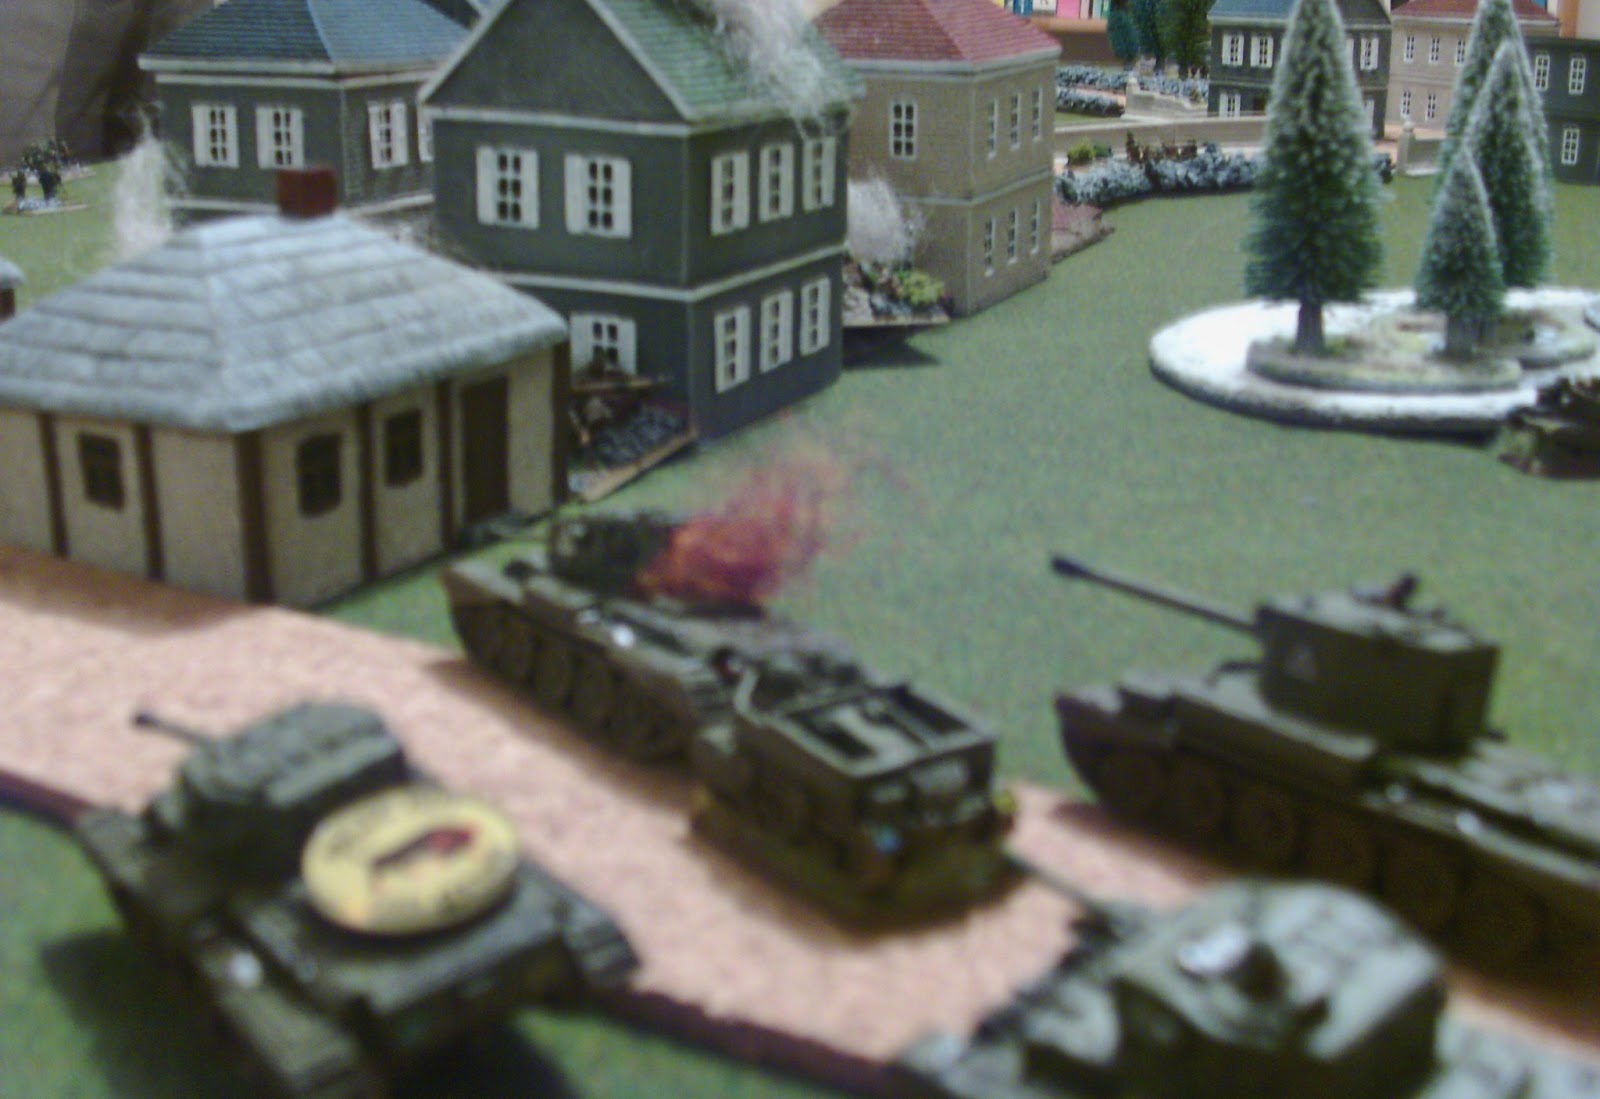
| Turn 2 - The right flank platoon advances towards the StuH's. |
 |
| Turn 2 - I assault the Mortar's completely miss and lose a Cromwell to the 2IC's Panzerfaust. |
Turn 3
Unseen by photos - This turn I assault and wipe out the Light Mortars on my left and surrprise Dave with the speed of my Cromwells engaging the StuHs and killing one. The US Paras turn up but quickly wish they hadn't. Dave's Pak 40's keep on causing me trouble.
 |
| Turn 3 - The US Paras arrive killing 2 FJ stands..... |
 |
| Turn 3 - ..... but they get horribly mauled in the return fire. |
 |
| Turn 3 - Winners Pak 40 takes out more Cromwells on the left, it's starting to become a blood bath other there. |
Turn 4
I shot up the Pak 40's forcing them to rout (no pictures I'm afraid), otherwise I kept on with m plan of destroying 4 platoons (2 down 2 to go). Dave routs my US Paras (again no pictures I'm afraid) and then counter charges my tanks.
 |
| Turn 4 - The Challenger takes out another StuH |
 |
| Turn 4 - Having just wiped out the Pak 40's the 1IC and Panzerschreck teams look for revenge. |
 |
| Turn 4 - A tank assaults the Heavy Mortars.... |
 |
| Turn 4 - ...killing the platoon commander and a Heavy Mortar. |
 |
| Turn 4 - The Company HQ charges the bailed out Challenger routing the platoon. |
Turn 5
Dave's counter attack routs a second Cromwell platoon, but I take out the last StuH. We are both reduced to half strength.
 |
| Turn 5 - My Mortars try to stop the counter charge, but they unpin in Dave's turn |
 |
| Turn 5 - Boom! AT 15 to the rescue, last StuH taken out one more platoon to company checks. |
 |
| Turn 5 - Dave routs another platoon of Cromwells, down to one! |
 |
| Turn 5 - The Panzerscheck pops a Cromwell. |
Turn 6
I'm unable to get to the last weak platoon for the 4th Platoon kill. Dave charges out at my last Cromwell platoon and takes them out.
 |
| Turn 6 - Unable to get to Dave's Heavy Mortars the Cromwells are caught in a trap and are charged |
 |
Turn 6 - It's all over! The last Cromwell platoon is routed and with my Company Commander bailed out I fail my
company moral check. Game Over. |
The Game ended 4-3 to Winner Dave. I do feel the game could have gone either way, but I got fixated on killing the Pak 40's before I moved on and in the end I lost to much of forces before I could finally finish them off. I do feel my plan of trying to beat Dave by making him take company moral checks was the right way to go and I was one platoon way from doing thing. If I had survived the Fallschirmjagers charge on my right flank I could have sweeped around and killed the Heavy Mortars putting Dave on the moral checks. The US Paras as the flanking force were a waste. Coming on when they did just meant Dave was able to have 2 platoons in position to shoot them and the Heavy Mortars were in range to bombard them. Not sure a tank platoon would have done much better though. Food for thought.
Still Great game and I think Dave played well. Also trained armoured is hard to use! I really missed being Veteran, but I want to keep playing with Trained forces in the hope it'll make me a better player.
Until next time thanks for reading
Ben |
Generated by WWPD's BatRepper Software.


Sounds like a great game guys, I remember how much I hated using trained shermans with my Canadians ! Well done Dave
ReplyDeleteGreat action, Dave when and how did you use the Trap teams? Also, was that Schreck attached to anything? Quite hard to see from the pics. Thanks for posting, and good to see FJs winning :)
ReplyDeleteThe trap teams were used a few turns in (around turn 3 or 4) and the Schrecks were one in each Infantry platoon.
DeleteSorry for the confusing but some of the good action shot photos were unusable (something I hope will change when I get my new Camera). Also we played the game over a week ago so some of the details got a little fuzzy...
How did the traps work? Did you try to intercept the fast tanks flanking moves? Also how would you rate the heavy mortars?
DeleteThe traps did do much thanks to my recon screen early on, but I think they were worth it. I think Dave;s plan was to hold on to them in case I broken through the font line to slow my armour down.
DeleteI rate heavy mortars highly for the British. They can smoke but are also AT 3 FP 4+ so can cause some damage over normal mortars (well enough damage that your opponent can't forget about them). The LW German ones don't have smoke (well Dave's ones didn't) so I'm not sure they are worth it.
I will say I'm starting to prefer the normal Mortars over Heavy Mortars as they have direct fire as I think direct fire smoke is better than smoke bombardment in V3 as you choose who gets hit and you can fire after you have shot with another platoon. My armoured list couldn't take normal mortars so whats why I when for Heavy Mortars. But in my final list I will have the special character and his CS Cromwell platoon for smoke and bombardment, but I need to get around to buying them first.
Yes, was wondering as I did not see them in the pics, would have been good time when you went for the mortars, also should be able to cause trouble if you leave your platoon commander in flank...
DeleteI also think the normal mortars are the new black, not only they have direct smoke, but can hold objective if needed.
Would it be safe to assume you rate the german AT guns quite high in the stuff you don't wanna see against you?
Yeah trained armour and Pak40's don't get one! But I mainly went for them as my plan was to kill 4 platoons and I figured they would be easier to kill than a platoon for dug in FJ's. I probably should have rushed all my Cromwells to the other flank and ignored them. Oh well.
DeleteHi Ben,
ReplyDeleteGreat report, despite the camera issues it was a really interesting read. Seems like it was a real hit for hit battle from start to finish!
Thanks Andy
DeleteIt was a great game. I almost always enjoy close games like this one were both players could have won. Still hopefully getting enough money together for my birthday to buy a new camera and then I'm looking to look into photograph style lighting to help make the AAR look better.
Hi all, sorry I've been replying. Been having a few computer problems (random BSOD)
ReplyDeleteRegarding the trap teams, I haven't really worked these guys out yet. I mean as soon as you put one down it's a friendly team, so you can't bunch them up. Then to kill anything, you really want to assault it. Then you need to be placed to get the assault off from cover and minimise defensive fire from other teams...it's not easy. However the psychological threat is unbelievable, every game so far my opponent has been maneuvering about the board so as to minimise the threat from them. Very cool. Things I'm considering...
Get 2 down early, covering routes to objectives. This forces your opponent to deal with them and may slow them down.
Honestly i don't know if that will work, but you never know until you try.
As for heavy mortars, some games I love em, some games I want to melt them down. Seems to be very little middle ground. Gutted they've lost the ability to smoke. I think they'll nearly always find their way into my lists.
Finally, I'm lucky to have Ben as an opponent, he's very good at reminding me to use storm trooper or advising against leaving that unit within charge range. We discuss my deployment options, so to some extent Ben ends up playing himself (no not like that!).
Take care, all thank you for commenting and reading the blog.
Great report. Looks like an excellent game. I like those close games the most I think.
ReplyDeletecheers
Hi Chaps,
ReplyDeleteGreat game and a great report too: thanks!
Where did you get those explosion markers, please?