 Hello All. Hello All. As part of my New Years resolution I said I would do 9 AAR's this year, well this is my first, a Corrivalry practice game with Cid. Cid was using Peiper with 3 King Tigers, this was a good test for my list as King Tigers are the paper to my rock. We rolled up surrounded which I thought would be great as we had talked about defensive missions in episode 8 of Beyond the Foxholes. Cid choose to auto attack and so I deployed for the defense. |
Kampfgruppe Peiper
|
Tankovy
|
Deployment
 |
| The Board |
 |
| The single Panzer unit on the left flank hide in the trees. |
 |
| The left flank on the right side, two King Tigers together... |
 |
| The middle of the German right side |
 |
The 251/9 D's hide in a woods, they didn't appear for the whole battle! You rolled what with your Tiger ace skills.... |

The Soviet right flank. The SU-100's hope to not see any King Tigers!

The Stuarts and BA-64's deploy in the middle to redeploy depending on what the Panzers do.

The other Company of Matildas hold the other objective.

Finally the second company of SU-100's deploys out of immediate ambush. They deploy to try and get a cross fire on any advancing Germans.
 |
| The Pumas make their recon moves and the Panzer IV's spearhead. |
Turn 1
 |
| The Tigers start moving out. |
 |
| As do the Panzers in the middle, but not being Front Armour 15 they keep out of sight of the SU-100's. |
 |
| The Panzers on the far flank pop out to shot, but the far one fails it's bogging roll. |
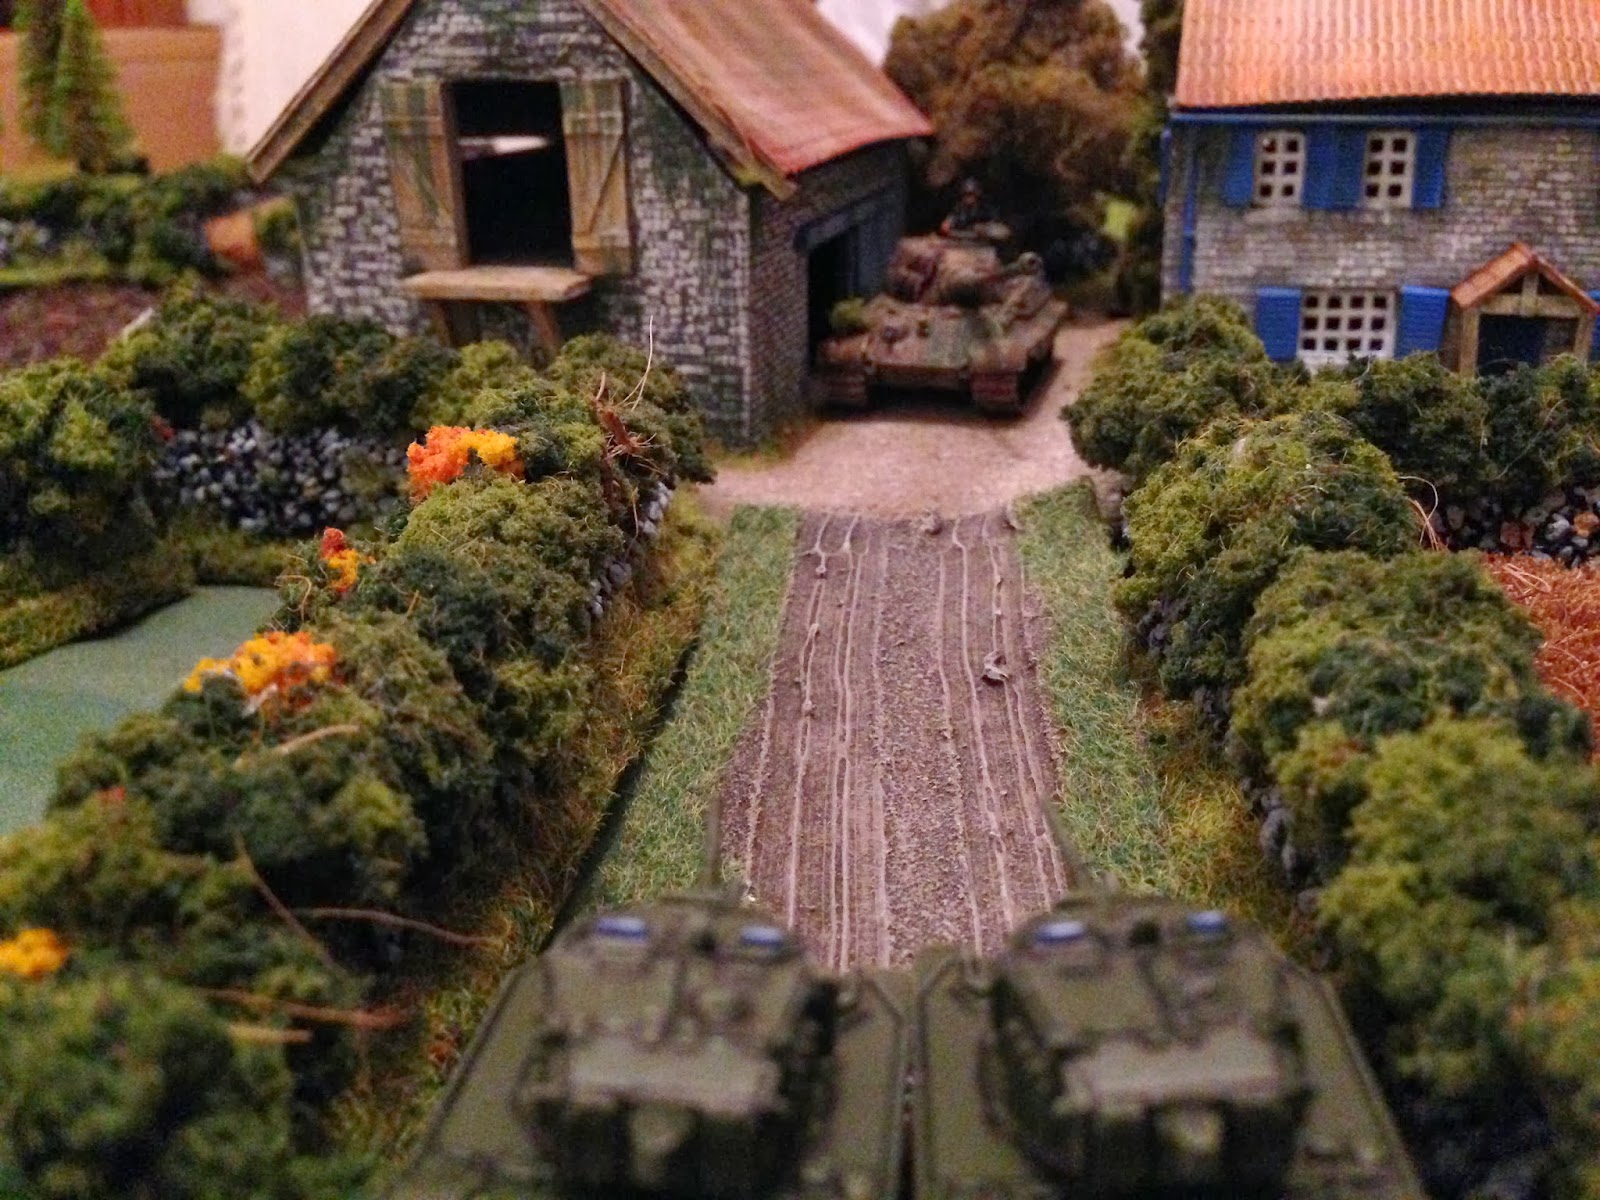 |
| "Comrade, it's a King Tiger!" |
|
| Combined fire from the lead King Tiger and a Panzer IV kills one Stuart and bails another. |
 |
| The other two King Tigers shot at the Matildas and kill and bail a pair. |
 |
| The far Soviet Matilda platoon starts to move out. |
 |
| The Stuarts dive for cover. |
 |
| The Su-100's on the hill redeploy. |
 |
| The Sturmokiv survives the incoming AA fire but fails to see the Panzer IV's. |
Turn 2
 |
| The Tigers keep coming... |
 |
| ..and knovk out two more Matildas. |
 |
| The 1IC King Tiger keeps shooting at the escaping Stuarts. |
 |
| The far Matildas keep coming. |
 |
| The Stuarts decide that the river is better that the King Tiger. |
 |
| The SU-100s again redeploy as it turned out that were 1 inches out of range of the far Panzer IVs |
 |
| The Sturmovik comes back but this time fails to make it through AA fire. |
Turn 3
 |
| The far Panzer IV un bogs and moves up to shoot. |
 |
| The King Tigers start to pick on the SU-100's knocking 2 out and bailing another. |
 |
| The 1iC keeps on chasing the Stuarts. |
 |
| The second Company keeps coming. |
 |
| The SU-100's duck back to the back of the hill to dodge the 1IC's Tiger. |
 |
| The Stuarts start to move towards the 251/9 D's in the woods, looking for an easy VP, but a couple of them bog. |
 |
| The AA stops the Sturmokiv again. |
Turn 4
 |
| The 1IC punishes the Stuarts that bogged, causing a platoon test which they pass. |
 |
| The bulk of the German army stays hidden. |
 |
| The SU-100's again take a beating from the King Tigers, and the last one routs. |
 |
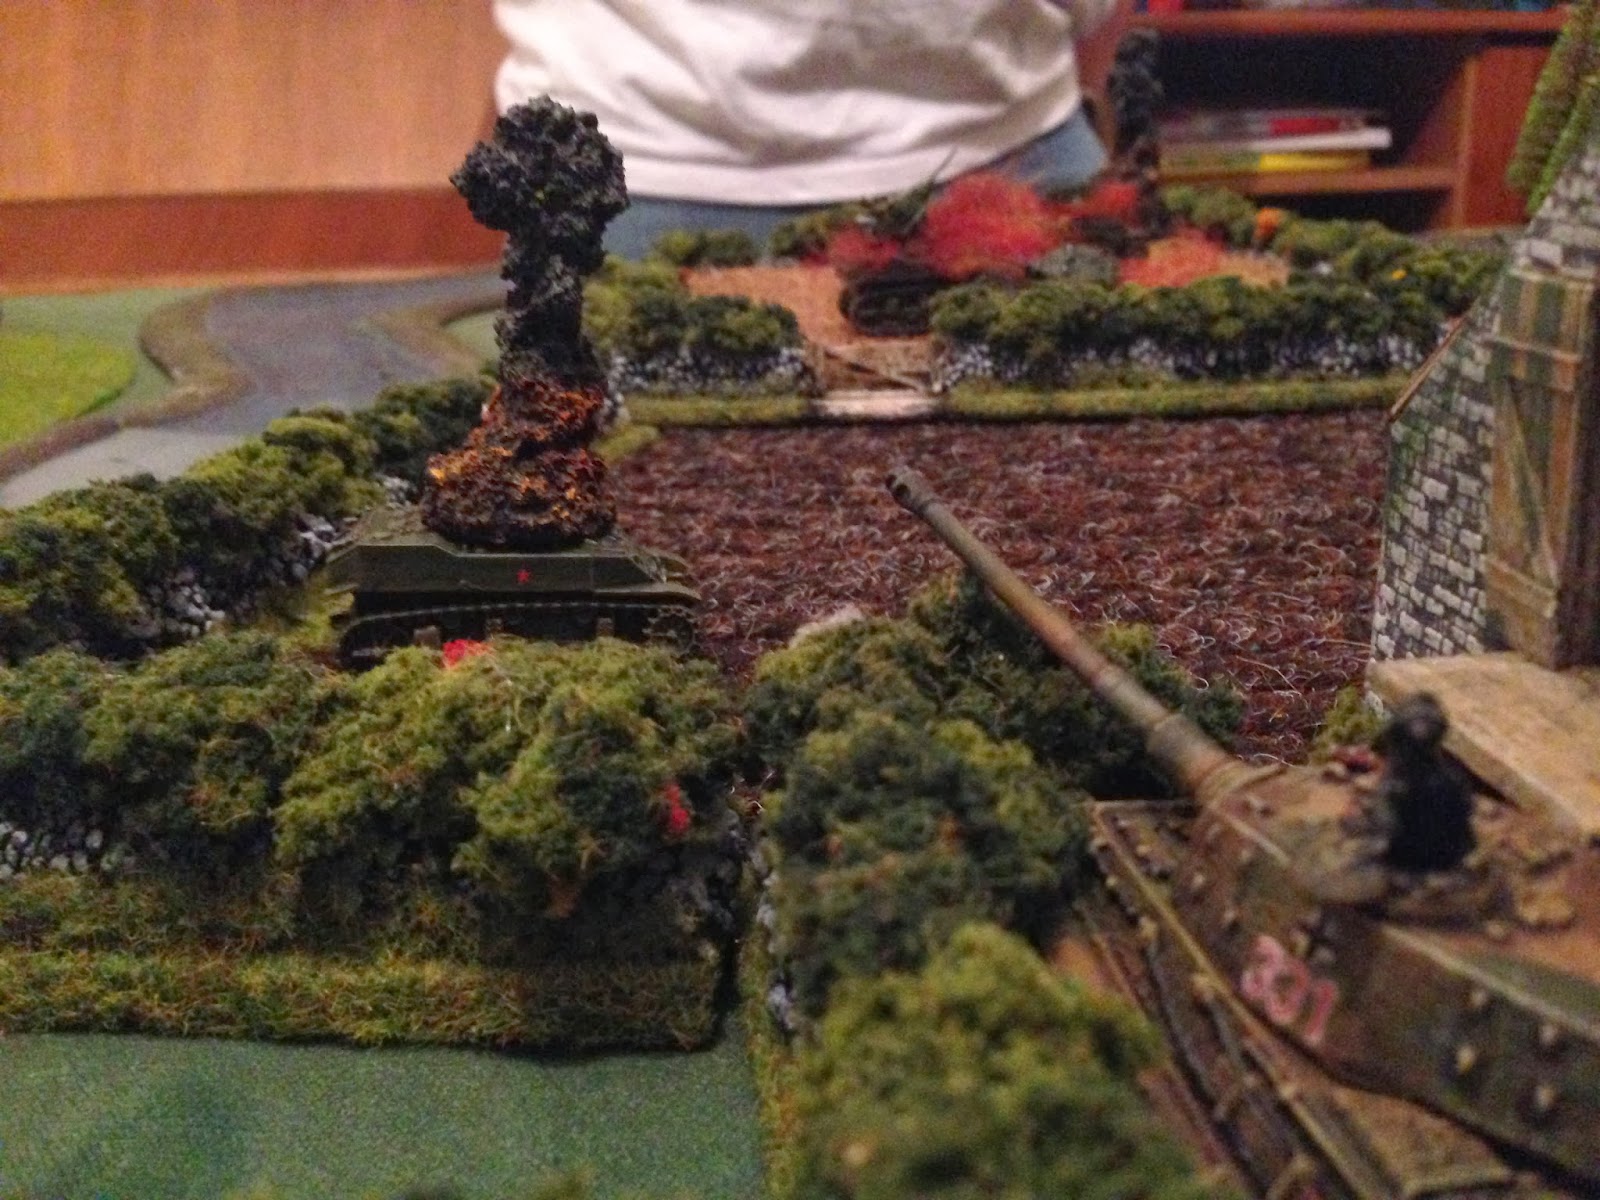
| My first kill of the game, an SU-100 takes an extreme long range shot and kills a Panzer IV (the black smoke to the left of the trees, against Cid's shirt). |
 |
| The Matildas hide behind the bridge to not get shot at. |
 |
| The Stuarts keep on their journey to the half-tracks. |
 |
| The last attack run of the Sturmokiv comes to an end. {In case your wondering why I kept on attacking near the AA it was because the tanks were so bunched up if it had worked I could have taken out 2 platoons in one shot). |
Turn 5
 |
| With the SU-100's routed the Matildas return to be the focus. |
 |
| The SU-100 that killed the Panzer IV is in turn taken out by the 2IC... |
 |
| ...it was also the company commander so they weren't moving again! |
 |
| The 1IC picks the Stuarts, killing another one but again they pass the Company Moral test. |
 |
| Trying to pick on the weak platoons I decided to attack. |
 |
| The 2nd Company joins in the charge of the Matildas. |
 |
| The Stuarts are one move away from making it to the woods and safety. |
Turn 6
 |
| The Matildas charge starts to lose tanks. |
 |
| The 1IC takes three shots at the Stuarts... |
 |
| ...and gets three kills, wiping out the platoon. |
 |
| The Matildas push past the King Tigers they can't hurt and take a few pot shots at the AA, put the shots bounce. |
 |
| The second platoon pushes up the road. |
Turn 7 & 8
 |
| The King Tigers and Panzer IV's finish off the first platoon of Matildas. |
 |
| Before taking out the lead Matilda of the second Company. |
 |
| I get one shot off with the SU-100's... |
 |
| ...killing a second Panzer IV and Cid fails his platoon moral test! (Wooow not getting 1-6'd today!) |
 |
| The remaining Matildas push on but all there shots bounce. |
 |
| The King Tigers aim for the SU-100's once more... |
 |
| ...Killing two and... |
 |
| ...routing the platoon. And with that I call the game. 5-2 to Cid. |
| So 5-2 to Cid. I almost didn't post this game as it was pretty one sided (not to say it wasn't fun, playing Cid is always fun), and could have easily been 6-1 to Cid. I did fear that going into the game but I did learn a few things from the game which made me think it was worth posting. I will say (and so did Cid) the re-rolls he got with the Tigers was brutal! He made so many hits on the second roll, it really made a big difference especially against the SU-100's at range. In hind sight I should have been more aggressive earlier, If I could have rushed the 21 Matildas and 8 Stuarts into the German lines I could have got to the soft support units and racked up a few kills. Also if the king Tigers had turned to face them I could have had side shots on them and with the SU-100's, which would have quickly reduced their number. Going into Corrivalry I'm pretty happy with the list and I'm looking forward to the event. I hope to do well but fear the list isn't quite as good as it could be. I really want to drop the Sturmokiv! But it's too late now. Thanks for reading Ben |
Damn, Cid puts a good board together. 1 down 8 to go :)
ReplyDeleteWhat an awesome battle if only to see the Royal pair just absolutely cutting a swathe! My god, King Tigers are so awesome!
ReplyDeleteYeah the King Tigers were awesome, might have to get some when I start my Germans in a few months. Still learnt a lot and Cid did a great job of hiding the rest of his army, the re-rolls to hit really made the difference.
DeleteA pretty one-sided game, but thats a tough table for tanks to move through. So much hedge.
ReplyDeleteTrying to wade the Strumis through the AA was never going to work? Surely? I'd have gone for the KT single tank platoon first, assuming it didn't close the gap too quickly.
The risk with the Sturm was worth it, I would had between 4 and 6 tanks under the template every turn. Also with trained AA and Flying tank the odds were only 1 plane being shot down so I should have got in once or twice.
ReplyDeleteMaybe I should have gone after the KT's but at that point I didn't think Cid was going to be so careful with the Panzer IV's. I'll know for next time.
Ben
I would've gone for the King Tigers with the plane b/c what else can hurt them? Take out them and you can advance.
ReplyDeleteLooking back maybe, but if the plane had done the job I could have got the Germans down to company moral checks (my plan at the start). But then If I could have taken out the King Tigers then the rest of the army would have had to attack my army so that could have work.
DeleteBut as I said in the round up at the end it was a learning experience for the weekend and I now have a better idea how to deal with King Tigers at the event.
Ben
Cheers Ben, yeah getting reroll misses on all 3 KTs was a tad OTT. Apologies. Btw only had 2 platoons of 3 pIVs
ReplyDeleteCid
No worries Cid, it was a fun thinking game. And I will have my revenge! ;-)
DeleteThe tight terrain makes it pretty difficult to move those Soviet hordes around. Good battle report. Sometimes you have a game where the dice are not in your favour. I liked all the pictures. Very nice looking table.
ReplyDeleteBen with your permission may I use your photos, I'm the fella who made the bocage and farm. I'm in the process of rebuilding my site and I don't have any uk photos of my terrain been used and I must say the photos look fantastic cheers Phil
ReplyDeleteSweet terrain Phil, let us know when your site is up and running.
Delete