As I type this, it's the 23rd July and I've only just started the painting challenge. In my defence, I couldn't afford to stop painting the 144 figures you get in a Strelkovy box, otherwise I'd never pick them up again. Also the delay in shipping means I didn't receive my tanks until two days ago.
 |
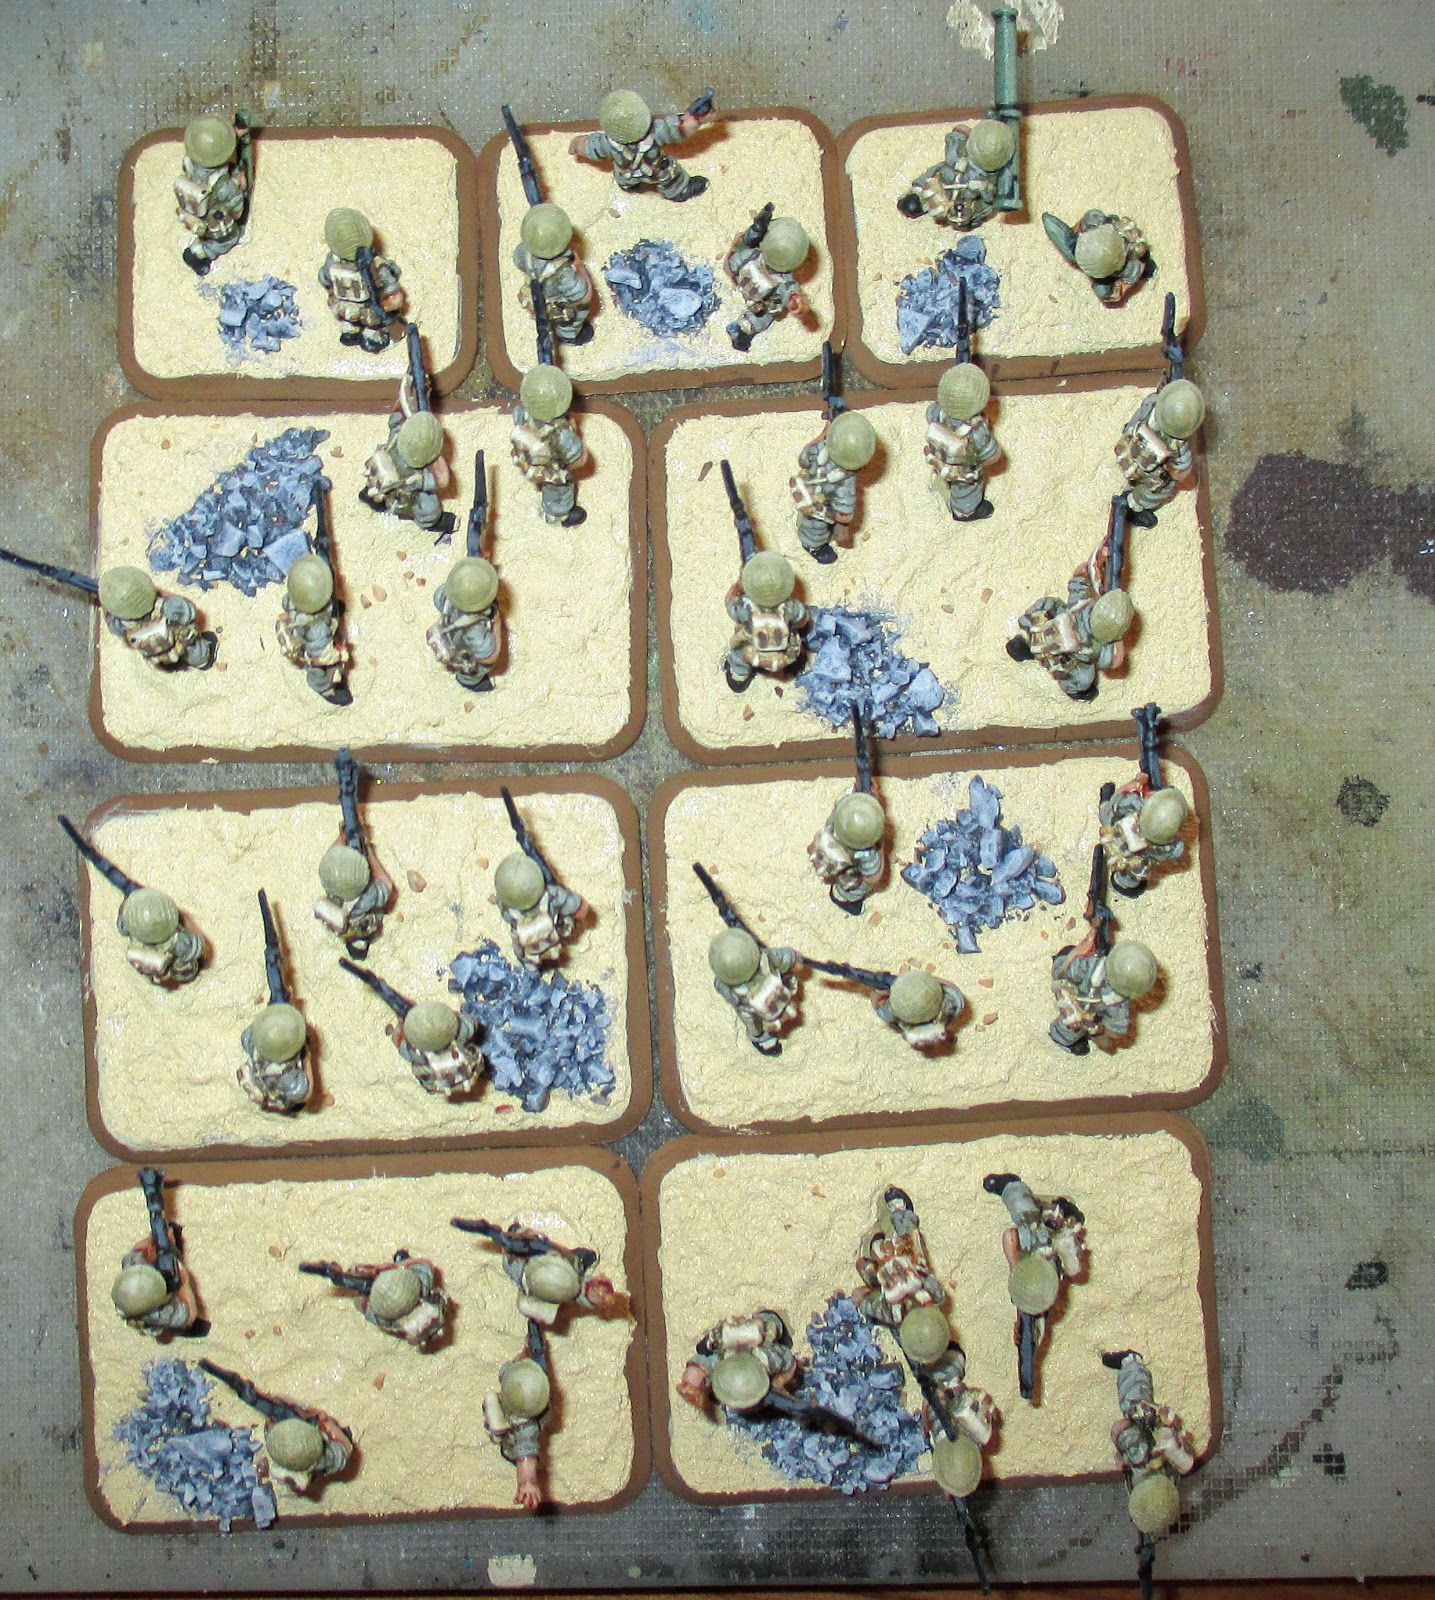
| Sneek peek at the end result |
So 500 points worth of miniatures, is not going to happen. Then again it never was. Points in game terms don't translate well into painting effort. So I'm going to focus on getting the infantry done (A Moshaa Mekaneekey (Mechanised) platoon, which is only 190 points and hope I can catch up in months 2 and 3.
Also, I'm going to chronicle my steps as a reminder to myself and hope that it helps someone. Now this'll be a slightly odd order of doing things, because the main colour I need (Green Grey) is currently sat in Adam's flat....grrrrr.
Steps:
 |
| Wash in soapy water, remove mold lines, prime grey |
and yes I do leave it for 24 hours before taking another step.
 |
| Brown Violet will form the undercoat |
 |
| Meanwhile, construction of the M113 APCs begins |
 |
| Boots are painted black |
 |
| M113 Construction continue |
 |
| Construction complete, note the 50cal turret is not glued down for easier painting |
 |
The gaiters are painted dark sand, I should have done them before the
boots...doh |
 |
| Cork Brown for the Skin (love this colour) |
 |
| APCs get primed |
At this stage I've given up with my Badger Sotar 20/20, there's something not right with it so I'm sending it away for a service. You might not be able to see from the picture but the primer is unbelievably grainy, there's no way I could do green camo stripes without ruining it. Hopefully Steve at barwell bodyworks can sort me out and hopefully I can get my other airbrush playing nicely.
 |
| Dark sand for the webbing, packs and slings |
I used Vallejo Game Ink Flesh wash...I'd not used this before and it was a lot redder than I thought it would be. It's a great ink wash, I'd highly recommend it.
I also washed the webbing with brown ink
Time to start tidying up, so I painted the flesh with a 50:50 mix of cork brown (the original colour) and dwarf skin. I'm glad I stumbled over this combination...I really like it.
 |
| I added pale flesh to the above mix to make a final highlight on the skin |
 |
| The M113s get their first taste of paint Ammo Earth |
 |
| Webbing and Gaiters get a highlight of Dark Sand with a touch of Ivory |
 |
| More Ivory is added for a final highlight on the webbing and gaiters |
 |
| I painted the pack straps with leather brown and the wooden stick thing beige brown |
 |
| I highlight the straps with a leather brown khaki mix and the stick a beige brown orange brown mix |
Here i've re-blacked the weapons...tbh in order to improve my painting I should do this to everything that isn't uniform.
 |
| I use my usual wooden colour for the rifle stocks, beige brown, then beige brown with orange brown mix |
 |
| I paint the metal parts black grey, then add a drop of glacier blue and add a 2 highlight |
 |
After painting the hair black and a handful of moustaches, I paint the helmets
Green Ochre with a touch of Russian green |
 |
I added ivory to the above mixture and thinned it a little more, then I paint a
fat cresent moon on the helmets |
 |
| I add more ivory and paint a thin cresent moon on the helmets. |
I have only got a few misc bits like the mortar, bazooka and shells before I have nothing left but the uniform...I hope I can get my hands on some green grey soon.
Yeah it's arrived, in my excitment I forgot to photograph a step so apologies for that, but you can probably guess I hit the uniform with green grey
Then I added some Sunny Skintone, and a dash of Ivory to make the 2nd highlight for the uniform.
Nearly there
 |
I painted the zook, mortar, shells a VMA Field Green and added two successive
drops of sunny skintone for the highlights |
I like to paint the bases in case I don't do a good job with the basing paste. I chose Green Ochre
 |
| I painted the base rims beige brown, glued the figures down and applied a layer of Vallejo Desert Sand basing paste |
 |
| Overnight the paste shrinks revealing the round holes, so a second layer of paste is applied. |
Today is a great day, I've built up my flexi time and taken a day off work to paint. The girls have gone to London for the day, so I'm free to crack on.
 |
| Getting back to the transports, I apply a layer of Ammo Desert Yellow hmmm, they look like Team Bananna! |
 |
| I add a layer of cremeweiss |
 |
| Meanwhile I PVA some rocks to the bases and leave to dry...for a long time. |
 |
| I pick out the hatches so they stand out |
 |
| The rocks get an extra layer of watered down PVA |
Fortunately my Sotar 20/20 came back from the menderers (Barwell Bodyworks) so I was able to get the stripes done. I'm not very experienced with stripes, which I know is a reason people buy airbrushes, but it's very tricky. I'm pleased with the result.
 |
| The rocks get a coat of Black Grey |
 |
| Rocks get a jab of cold grey |
 |
| Yay decals and a coat of micro sol |
 |
| Rocks get a drybrush of stonewall grey |
 |
| and a last drybrush of deck tan |
 |
| Time for some fun, I used 3 pigments to add interest to the bases |
 |
| I used rubble around the rocks, brick dust in a patch, then middle east dust everywhere else |
I know that applying the varnish will have a massive affect on the pigments, so i'll just have to guess the end result.
 |
| I used Ivory to for some minimal edge highlight |
 |
| I used German Dark Yellow filter all over |
 |
| The lining is done with the new Panel Line Wash Deep Brown from Ammo |
 |
| Some of my weapons |
 |
I paint the tracks with VPA Track Primer (one day i'll remember to leave the
tracks off the body) |
 |
| I paint the road tyres, tools and .50 cals black |
 |
My hands were abnormally shaky whilst painting the details, a sure sign
I should take a break. |
Despite the dreaded shakes (Do I need more caffeine or less?) I've got the details done.
 |
| I sponge apply some chipping |
Time to get back to the tracks.
 |
| A black wash all over the tracks and leave to really dry |
After this I used middle east dust pigment on the tracks, highlighted the .50 cals with Black Grey and increasing amounts of Wolf Grey and of course Matt Varnish
So here they are
I'm really pleased with the end result...okay I didn't hit the designated 500 points, but I think I can catch up next month with 10 Centurions.
Hope you like them, please leave feedback
WinnerDave


These look gorgeous, good to see someone get their vibe on.
ReplyDeletePerfect.
ReplyDeleteSplendid ! I particularly like the paint jobs on the M113's, well done.
ReplyDeleteThey look great. Very interesting to see your stream of consciousness progress.
ReplyDeleteI love dwarf skin. I use it in all of my skin mixes at the moment. Green grey and ivory are also wonderful and versatile colours.
The m113s look great. The stripes look very controlled. I always find painting freehand stripes to be extremely challenging. It is so easy to make an irreversible mistake.
What was wrong with your airbrush? Did the service make a big difference?
I don't know what was wrong with it and the shop was less than forth coming with any information about it. Looks like they put in a new needle and nozzle and smoother ed the whole thing in needle juice. She's like new though, can't believe how precise you can be with it compared to the h&s. You'd be able to paint eyes with it :). Alas my shaky hands means these stripes are as good as I'll get.
DeleteOnce I'm more confident with the free hand stripes I hope to make my first you tube video.
Any thing you'd have done differently to the above?
So you prefer the sotar to the harder and Steinbeck? Interesting. I like my badger renegade krome, but sometimes I would like two new airbrushes. One for detail work and one for priming, basecoats and scenery with a bigger nozzle.
DeleteI can't think of anything I would really do differently. They all look superb. My only thought with the infantry is you could maybe go a step lighter on the skin and main uniform highlights. Mix in some ivory or white and do the lightest of lines on the highest points to make them pop more.
I think the transports look almost perfect. Nice and subtle shading, nice camo, clean edge highlight, weathered but not over the top. I love the non metallic guns.
Great work Dave, they look fantastic!
ReplyDeleteOddly, I also have a Jordanian army to start work on in the next few weeks.
CdlT
Outstanding!
ReplyDeleteI've bought the Jordanians to use for WW2 Australians as the sculpts are so nice (minus the super Bazooka of course), but you have done them full justice and then some. Outstanding!
ReplyDelete