Its such an exciting time for the war gaming hobby - the progress of technology has meant that more and more miniatures are becoming available in plastic, making our favourite toys cheaper than ever before!
However, I've seen some people are struggling with the transition from metal and Resin over to the grey stuff, and thought I would help share my tips on how to get the most out of your shiny new sprues. Having grown up building Scale model kits, the wargaming models are a holiday by comparison!
 |
| You think T-34 tracks are hard - look at this thing! |
1) Use Plastic glue.
For the love of Hobby, please use plastic glue. This stuff works by melting the plastic together, so when it cures its welded together. This gives a stronger bond, as its also maximises the surface area of contact by melting away any irregular protrusions on the join. I use the Revell blue bottle with a thin metal nozzle, as its readily available, and works well. One essential piece of kit to go along with this is a needle - occasionally the glue sets inside the nozzle, and poking a needle down the spout cleans this out, and saves you buying another bottle!
Be careful about using too much glue, as it melts the plastic - also be wary of getting glue on your fingers and then touching your model - having a giant finger print on your tank turret is annoying!
 |
| Look! Glue! |
A decent pair of straight edged plastic cutters are much easier for snipping pieces of the sprue than a craft knife - knifes are also useful for smaller bits and cleaning up.
Those two are super super basic, so I really hope you've already got those covered. Now for the super secret Fez tips:
3) Think about what you're cutting out.
Some times, you'll be trying to cut out small components off the sprue (frame). The sprues are designed to get the plastic to flow though all of it, so sometimes this can cause difficulty in removing the component in one piece, as it is overstressed by the cutters/knife and breaks. The answer is often to cut the sprue around the component, to allow you to remove the remaining sprue safely.
 |
| The towing loops on this Warlord/Italeri 28mm Panther are a pain to cut out without breaking |
 |
| So instead, I removed the frame in chunks |
 |
| Allowing me to make the last cut without over-stressing the part |
4) If all else fails, Lighter-Sabre it!
Now, before Disney start suing me, its LighER-Sabre. There are occasions where you can't cut the sprue, and can't cut the component without it snapping - I'm looking at you Pak 40 gun shields! In these instances, the lighter-sabre is needed. Simply heat your craft blade in a flame, and the plastic will melt as you cut, making a super clean incision. Now, before you start playing with open flame, please THINK! Most of the chemicals used in the hobby are extremely flammable and/or unpleasant when set on fire. Clear your work area of anything that can cause an issue before you start with this.
 |
| Hello Hull MG. My, what a small barrel you have. You're going to snap, aren't you..... |
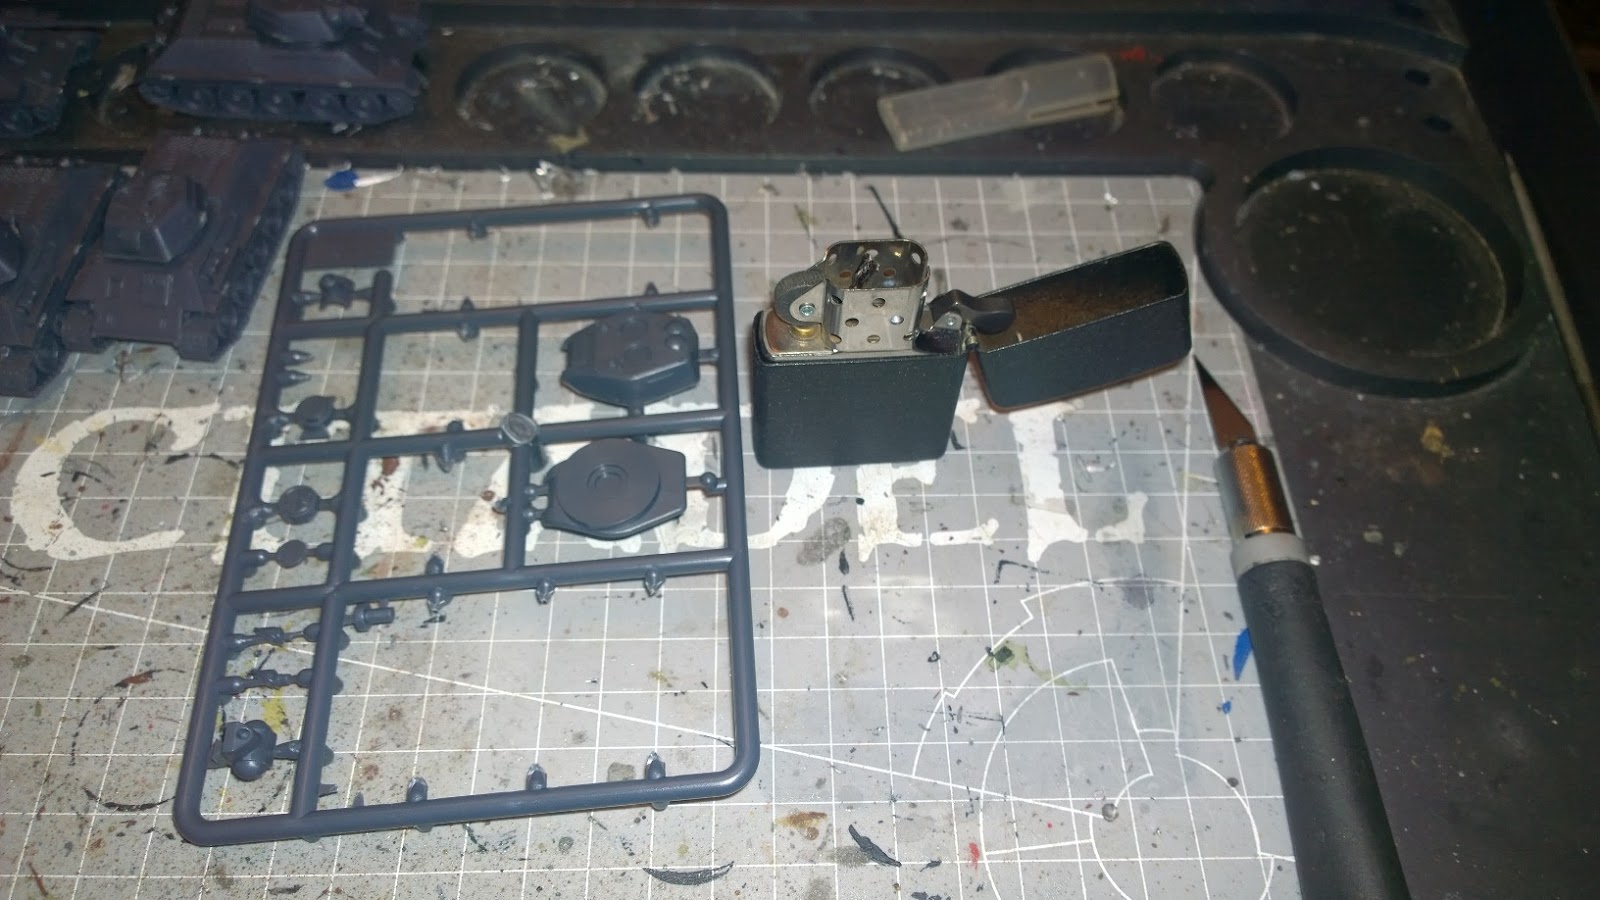 |
| Enter the 1944 Black Crakle finish Zippo, as carried by the US Airbourne |
 |
| Fire! Heating the blade... |
 |
| Slice - cut so clean its hard to see! |
 |
| Snip the back off, and easy as pie - you can clean the end carefully with a file |
If you have any other ideas or suggestions, please comment below!
Thanks for reading,
Fez
Wow, never thought about heating the blade up for those really finicky parts! Great idea!
ReplyDeleteGlad I could help! Thanks for reading!
DeleteExcellent article! well done.
ReplyDeleteCheers, thanks for reading!
Delete